Travel art supplies
Making your own travel art kit and embracing limitations of creating art outside of your studio

Today I want to share my ideas about making your own travel kit with art supplies a.k.a. a portable art studio.
The idea came to me this summer, when we were travelling for two months straight. Travelling and changing places frequently doesn’t leave you with much time for making art (and space for carrying art supplies is limited). My travel art kit wasn’t thought through very well and as a result I was overwhelmed with the choices I had to make. The sketchbooks were too big to carry around. I had too many supplies and I was confused what to use. I learned from my mistakes and created this post to sum up my thoughts and experience.
First of all, I would recommend to set limitations, because as I already mentioned, you won’t be having much time for creating art. At the same time, you still want to create regularly, so by limiting your choices you reduce the necessity to make decisions about how to create and which supplies to use. It’s just easier to jump in and start creating something when the choice is limited.
So what to include in your travel art kit? Depending on the situation and your personal and artistic preferences, the size and content of the kit may change, so I decided to provide a list for a basic kit, an extended kit and some additional ideas and examples.


Basic kit
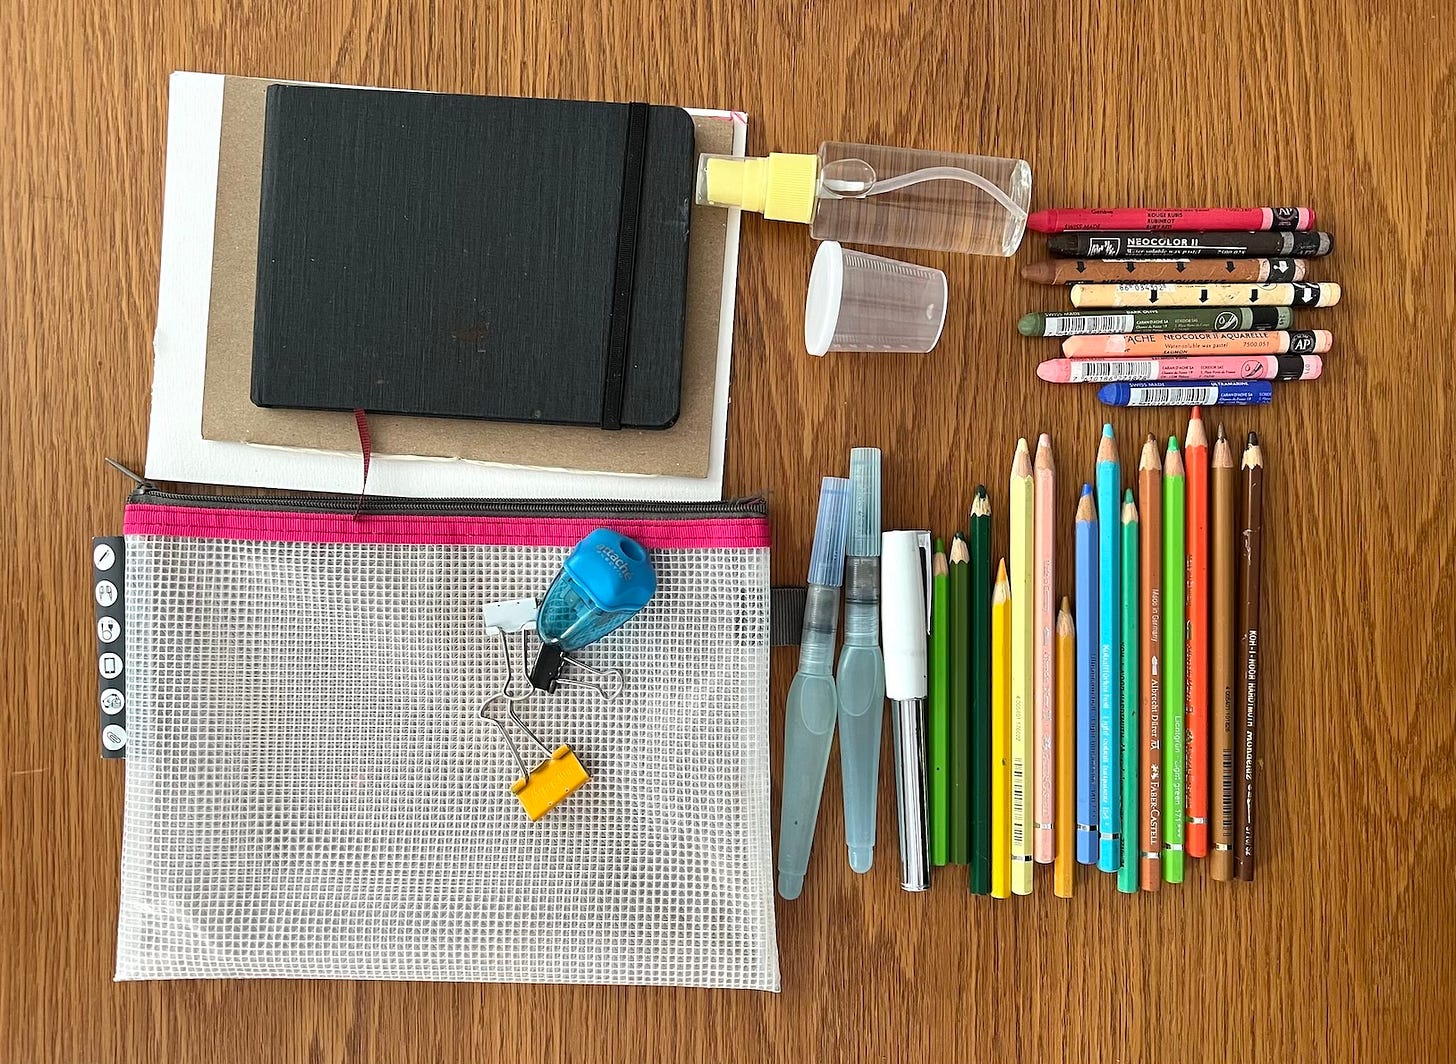
Small sketchbook (like this one from Royal Talens or even smaller like this one I have from Hahnemühle). If you only intend to draw, you can choose a sketchbook with drawing paper, but if you want to use some wet supplies, it’s better to choose a sketchbook with thicker paper
You can also make a handmade sketchbook using various papers like this one.
You can additionally prepare a stack of separate sheets of various papers (attach them to a small piece of cardboard with a bulldog clip for convenience)
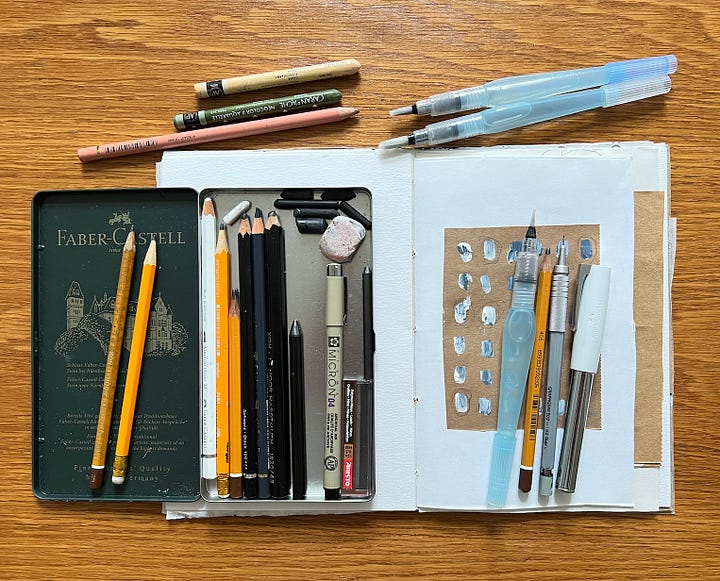
Mechanical pencil and / or graphite pencils
A couple of ink pens / fine liners
Some coloured pencils
Water-soluble pencils and crayons (like Neocolor II)
Waterbrushes (and a small piece of fabric or wet wipes to clean them).
Eraser, pencil sharpener, a little bottle with water (I have a little spray bottle)
A tin, basket, purse or poach, etc. to store and carry your kit with you
Extended kit
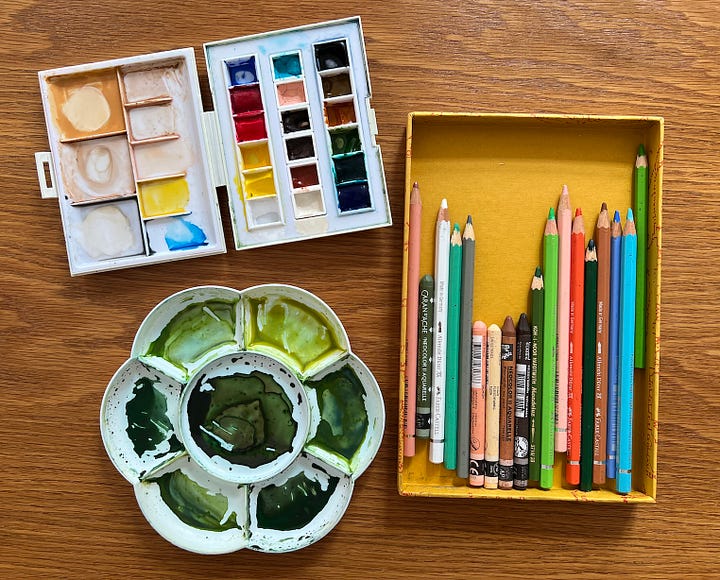
If you have space or are going to create outside of your studio for a prolonged period of time, consider adding paint to your kit.
Most people will opt for a small watercolour set that allows to mix a lot of colours. You can buy a travel set, like this one from Sennelier.
It’s also a good idea to create your own custom watercolour set. I explain how I make decisions in this post about my current watercolour palette.
If you would like to bring with you other types of paints, I’d recommend to check out this article by Blakely Little, where she discusses her travel kit with acrylics. For working outside with oils I’d check out this list by Marian Parsons.
Additional supplies you can add to your kit
Pen brushes (like Faber Castell Pitt)
Acrylic pens
Charcoal or charcoal pencils
White gouache / acrylic gouache to create some highlights or to mix with some of your watercolours, charcoal, graphite for interesting effects.
Reference photos / images (print out images from the web or collect magazine / book pages)
My recommendation is to start with very limited art supplies and gradually upgrade your kit. I also recommend using a sketchbook that already has something in it, e.g. some sketches, colour swatches or collage. It’s good to have a starting point instead of staring at a blank page (and having to make additional decisions). I like carrying with me a handmade sketchbook made from a variety of papers, so I can have a different substrate every time when I want to create. Sometimes I can get a little bit too precious about good watercolour paper, so warming up on something that is less precious (such as craft paper) helps.
The main idea is to create a kit that allows you to make art on the go, so it needs to be convenient, light and have all the necessary things, but not too many. You don’t want to make too many decisions. If you limit the supplies and colours and have only one sketchbook, it becomes easier to create outside of your regular studio space.
Example of a minimalist travel kit
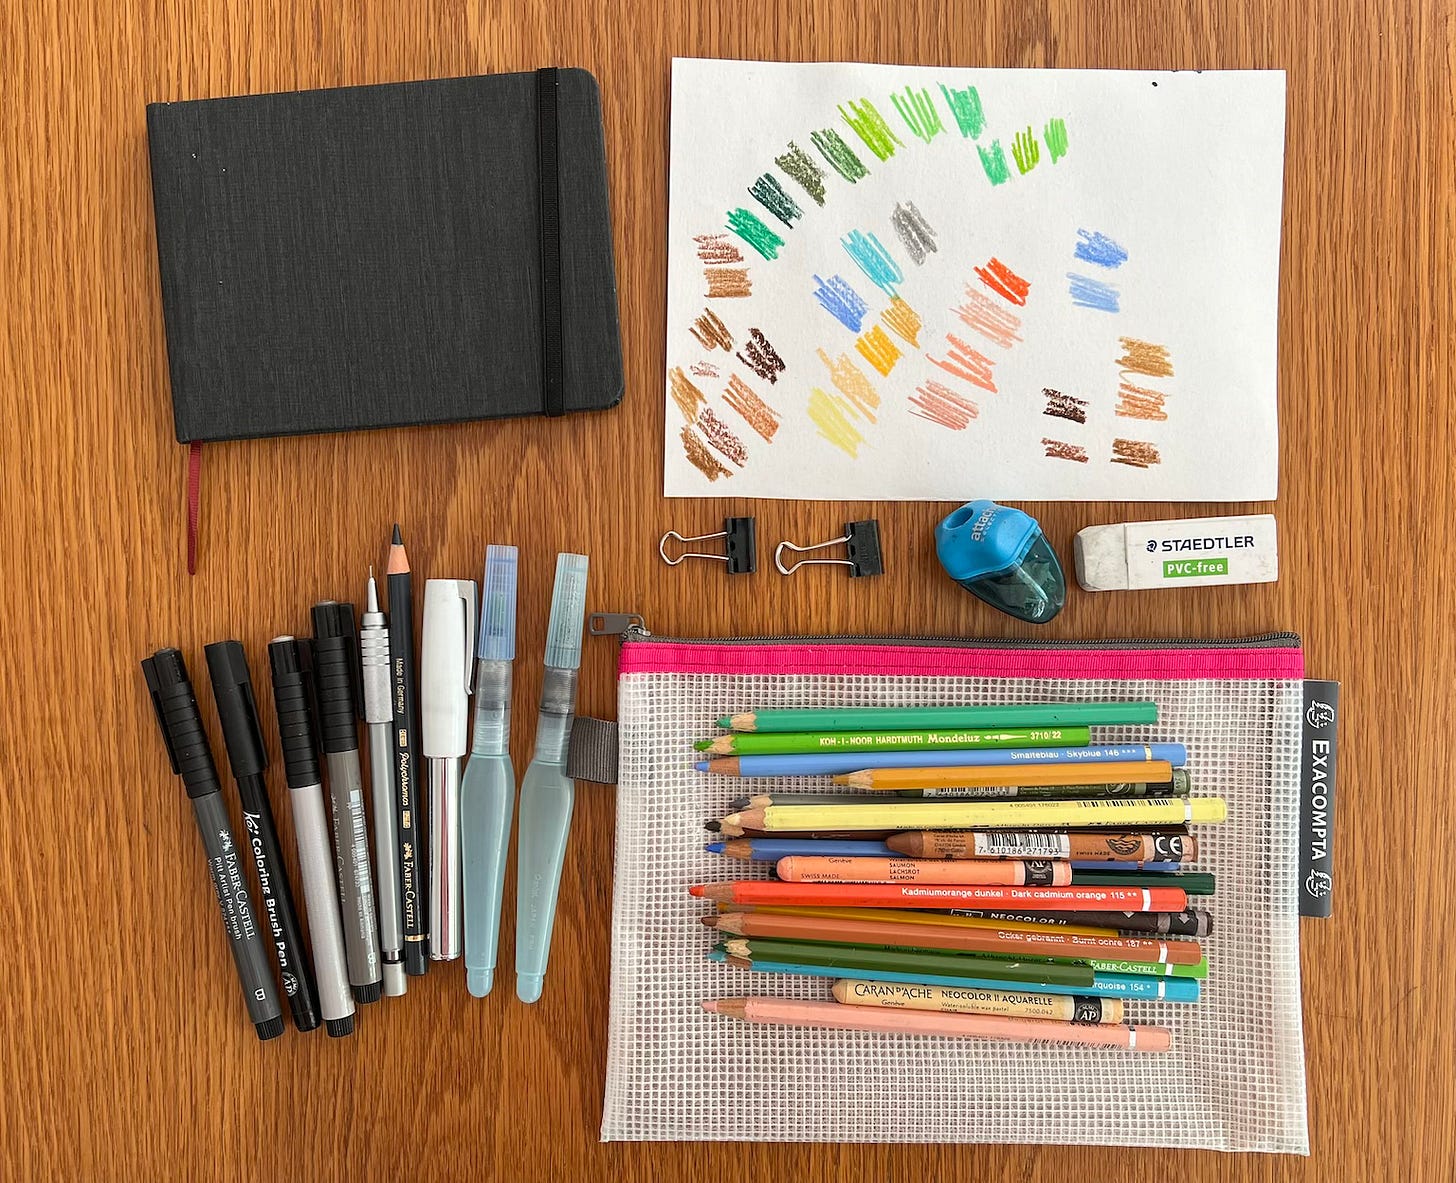
Recently I created a travel kit with very limited supplies, so that everything fits into a small zipper bag (mine is this from the brand Exacompta).
A little travel sketchbook (Hahnemühle)
An assortment of coloured pencils and crayons in a limited palette (Faber Castell Polychromos and Albrecht Dürer, Caran d'Ache Neocolor II)
Brush pens in shades of grey (Faber Castell Pitt and Koi)
A thick black gel pen (Faber Castell)
Two water brushes
A mechanical pencil
An extended version of this kit can be seen on the image at the beginning of the post, but the general idea is to limit the choices as much as possible.
Concluding thoughts
Having a travel art kit helps to create art wherever you are - stuck in traffic jams, sitting in a café or airport lounge, walking in a museum or in the park, etc. I know that for many artists it is challenging to create outside of their usual creative spaces (it’s definitely for me).
It is a skill that needs to be trained, but it is a very rewarding, inspiring and enriching practice.
If you are anything like me, then during your travels you are probably walking long distances every day and you don’t have that much time to just sit still and create a complete sketch. My recommendation is to make quick and simple sketches to loosely capture a scene or any object that catches your attention. The goal is not to create finished artworks, but to practice regularly, capture the beauty around you and create memories from your travels. Flipping through all the sketches afterwards helps to get new ideas and develop them further into finished pieces.
Think of your phone camera as a part of your portable art studio. When you don’t have time for creating, take some photos instead and revisit them later as a source of creative inspiration. Keep in mind that you need to make photos with intention - paying attention to details, composition, colours, shapes, values, etc. You can additionally carry with you some images (photos, magazine pages, etc.), so you’ll always have a subject and reference to draw inspiration from.
Don’t overwhelm yourself and have only the necessary minimum in your travel art kit. Don’t get frustrated, if you do not create something every day. The goal is to be more connected, intentional and engaged with your surroundings.
Further inspiration
Jeanne Oliver - Portable Art Studio, Watercolour palette inspiration
Sandi Hester’s YouTube channel is full of inspiration on the topic
Renee Mueller - Voyage (the course includes a free preview lesson on traveling art supplies)
Liz Steel has a ton of advice on her website
Other posts related to the topic:
If you found something useful and inspiring, feel free to leave a comment or share this post with your art friend!
Thank you for being here!
Until next time
Lisa


